This is how I made the audio of my film allot better and at a higher quality.
The DOR that I used was Logic ProX. I used this as I am very familiar with it as I use it at school in my music technology lessons. So this task wasn't to strenuous for me as I knew how everything worked and where everything was.
The first step in editing the audio was to extract all the audio from the video. After that I then imported it all into Logic. Next I split the clips up for all the different surroundings e.g. Outdoor, bedroom, kitchen etc... After that I could now EQ the Audio tracks.
EQ
 |
| EQ modulator |
For the EQ I used the analyser to show where the main body of the frequency's sat. I then did a Filter sweep to find any outlying frequency's that I needed to cut out. This would make the sound allot clearer and tighter. I then did a brick wall to the low frequency's to remove allot of the muddy sounds that I didn't need and finally a high cut to make the audio sound les 'trashy'.
Compressing
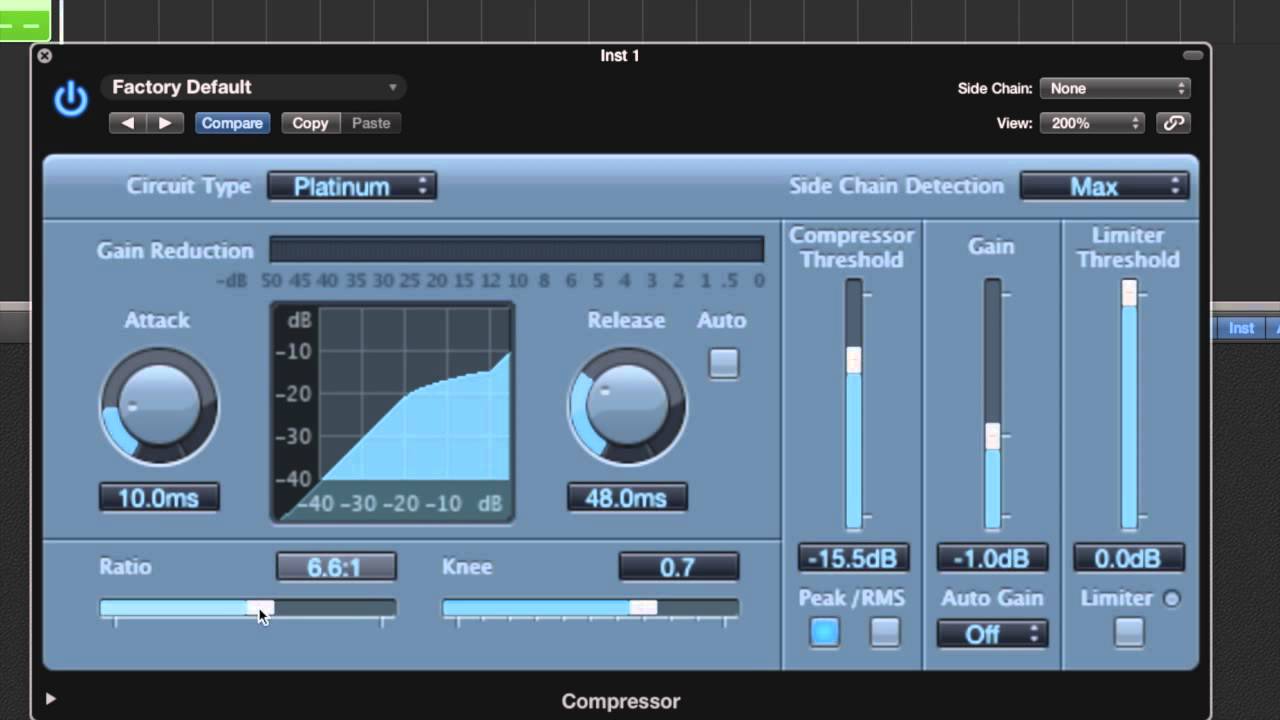
For the compression I Reduced the compressor threshold so that the dynamic range is reduced. This would allow me to normalize the track to make the audio sound more stable and clearer to hear. I increases the ratio for the same reasons and decreased the attack and release as this is a compression for speech not music.

Limiter
Finally I added an adaptive limiter so I am able to increase the gain but make sure the track doesn't clip over 0.0. db.
Here is what my finished mixer looked like:

Then I finally exported the track and mastered it. Then replaced the old audio with the new one.
I didn't do anything to the music in my track as it has already been mastered so there was no need for me to edit it.
No comments:
Post a Comment